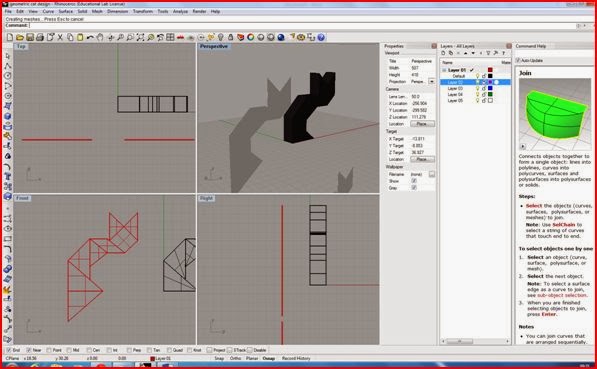
This was the final design done on the Rhino cad software (outlines in the top view port). It is saved as DXF file, then uploaded onto a computer software that works with the laser machine. The line, width and cutting speed are set according to the material being used then the design is ready to be cut. As you can see in the image below the lines appear in three colours. This is done to enable the laser to read whether lines are cut or etched.
The laser cutting process took around 30 - 40 minutes to complete. This video shows part of the cutting process on the laser machine. I used a grey acrylic material for the model as it can be cut, etched and shaped using a strip heater.
After the model was cut on the laser machine a strip heater is used to bend the acrylic (thermoplastic). Line bending is the actual term used for this process, It involves heating the acrylic sheet over the strip heater until it becomes soft and pliable then bending it. It was easy to assess where the bends should be, simply looking at the image of the design.
Although it is more accurate to draw faint lines on the material first.

 |
Ilsa Parry - Product Designer - Best known for winner of
Phillipe Starks Design for Life BB2. |
As you can see in the image above there is a grey sheet underneath the acrylic, this is a piece of wood. It is placed to stop the heat reaching a certain area I did not want to bend.
This was the outcome after the line bending process. Although the model is standing upright it is not secure enough. This is something I would need to develop further. An alternative to the triangular base could be a square base giving the model extra support.
 When laser cutting the model I did not remove the plastic film on the acrylic assuming it would cut and etch through it. What happened instead was the heat from the laser melted the plastic film into the etched parts, making it difficult to remove.The pieces in the left image will be stuck down on the areas I originally wanted etched. I chose the yellow acrylic to match the company's logo.


 When laser cutting the model I did not remove the plastic film on the acrylic assuming it would cut and etch through it. What happened instead was the heat from the laser melted the plastic film into the etched parts, making it difficult to remove.The pieces in the left image will be stuck down on the areas I originally wanted etched. I chose the yellow acrylic to match the company's logo.